

Do you get any beauty boxes? I've been a subscriber to Glossybox for a few months now - I quite like them although some months definitely beat others hands down. The actual box itself is very sturdy and I had just been using them as they were for string bits of make up and such, I had toyed with the idea of butchering them a bit and making it into something else but never got around to it. Then I was hit with an abundance of pictures from Glossybox themselves on Facebook and Pinterest with what some people had been doing with their boxes. After seeing some great creations I decided to get out the scissors and glue and get to it.
I apologise for the poor photography in this post - it was done late at night while I was sitting in bed! At least there are photos though!

I started out with three of these.

First off, chop along the corners of one side of the lid and pull it back and wiggle it to loosen it off.

You can see here that it was done on one of the longer sides. Do this step on two of the lids.
When it is nice and loose, get the scissors and chop it off completely.

As you can see this is what forms the sides of the drawers.

Here I was just checking that it was all going to fit as planned before I got the glue out to hold it all in place!

I wanted to create something to pull the drawers out, so I fished out these lovely buttons from an old issue of Mollie Makes and some ribbon from my stash!

I measured out the side of the boxes to be sure I was bang on the centre!
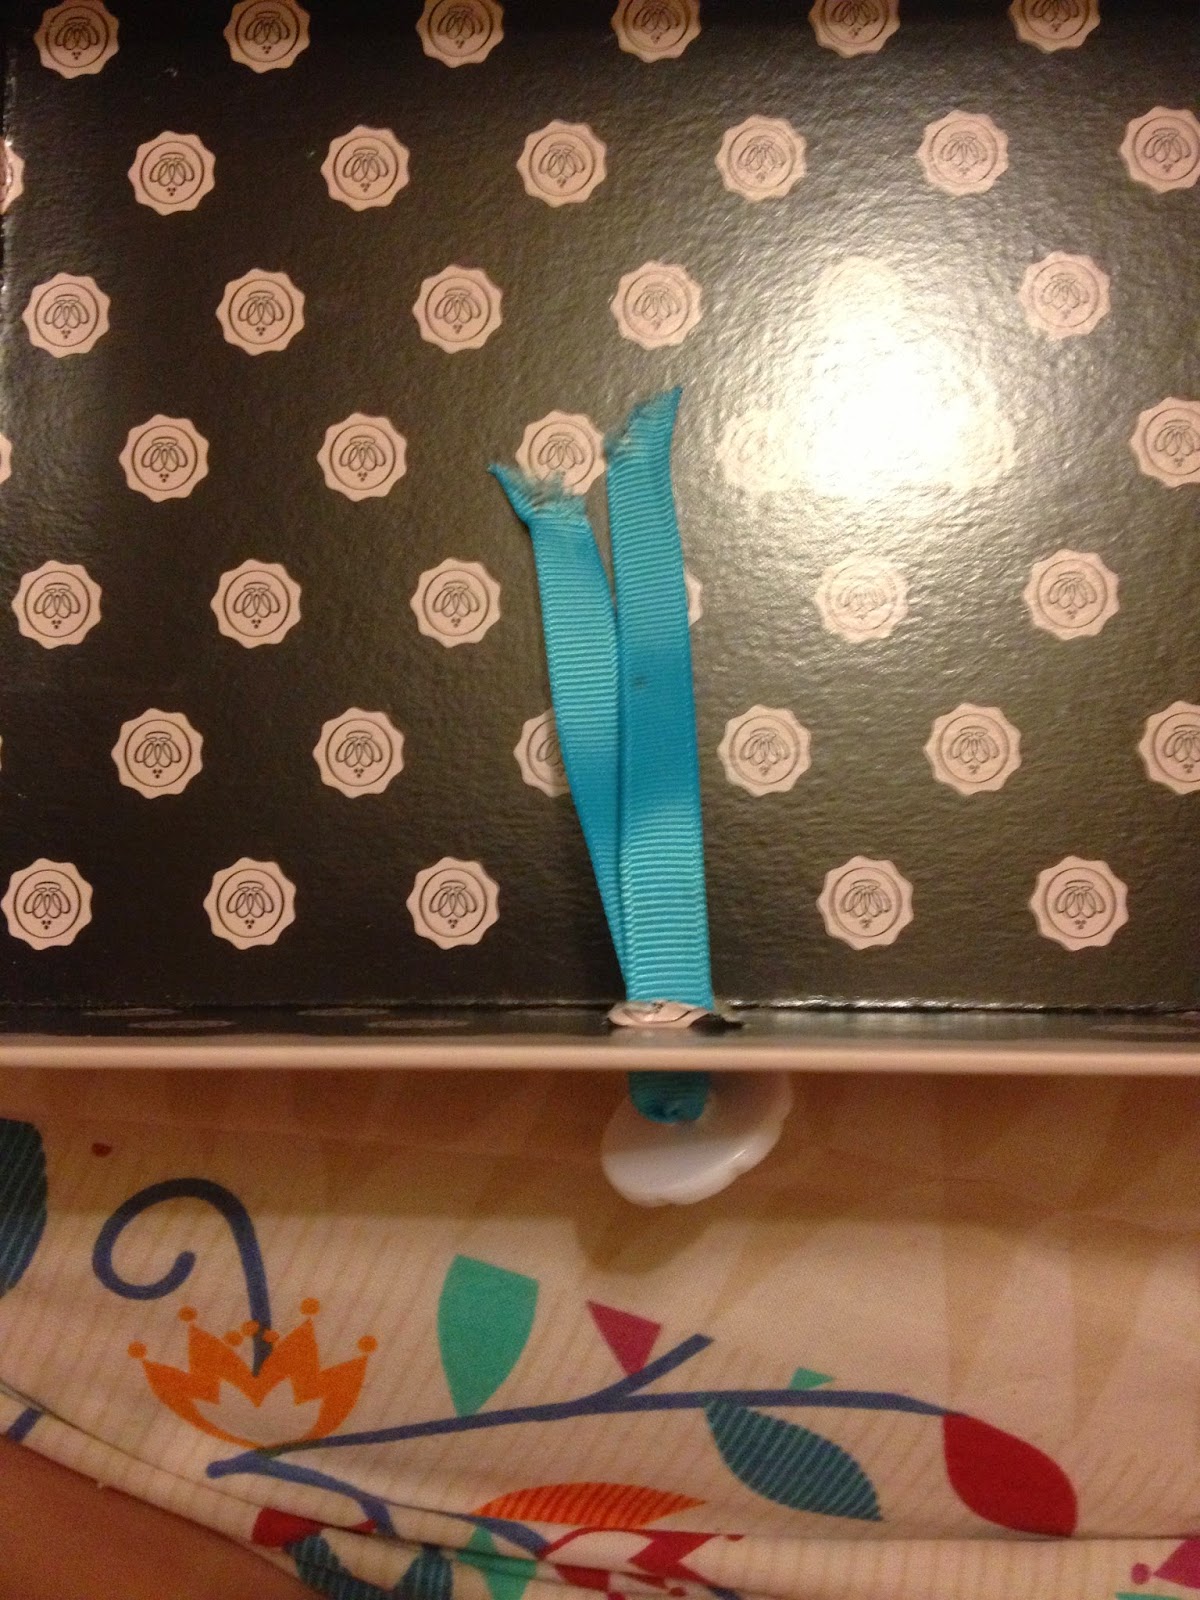
I marked out the centre and then used a craft knife to pierce the box - be careful here! If you have someone to hold the box steady for you it will help massively! I threaded the ribbon through the buttons, pulled it through and tied it off in the inside of the box.

I looked out my trusty Bostick Sticki Dots (all purpose glue will work great too, I just had these on hand!)
So I went on to place five or six glue dots on each side on the lip which covers the top box.

Then carefully place the third lid, turned upside down to create a tray on the top!

I ended up moving my Glossy drawers away from the window - they looked very pretty there but I had a slight mishap with my Eight Hour Cream which had been sitting in the sun all day. If you use Eight Hour Cream then you'll know what it is like when it gets a bit warm, it came flying out of the tube!
I keep my everyday make up, make up brushes and any other bits which I use often in these pretty little drawers.
So, that was how I made my Glossy drawers, have you made anything similar? Or are you wanting to try it with yours? Let me know!!
Come back tomorrow when I will talk you through the cosmetics which I use every day, and you'll see what is housed in these lovely drawers!
Hello!
ReplyDeleteThis is such a great idea! The buttons add the finishing touches! I always end up with my make up all over the place!
-Kristina
http://thevintagecat.com/
Thank you! I thought that the buttons that I used made it look a bit more old-fashioned! That was my thinking anyway!
ReplyDeleteEmily xx
What a fab idea!I may have to give this a go as I seem to gave accumulated a few glossy boxes of my own!
ReplyDeleteWhat a fab idea!I may have to give this a go as I seem to gave accumulated a few glossy boxes of my own!
ReplyDeleteThank You! It is really easy - I hope that you have fun doing it :)
Deletex
How cool!! I have to try this! Stopping by from SITS! :)
ReplyDeleteRepurposing extraordinaire! Great tutorial!
ReplyDeleteWow so creative! I'm rubbish at things like that.
ReplyDeleteVery pretty!
ReplyDeleteOmgosh this is the best idea ever - I keep all my make up in old glossyboxes anyway which are just all piled on top of each other in a drawer. I am going to do this when I have a free weekend!! x
ReplyDeleteJasmin Charlotte