Showing posts with label diy. Show all posts

Wednesday, 2 October 2013

DIY Made To Measure Dressform


If, like me, you often surf the world on Pinterest for DIY inspiration you may have come across pictures of made-to-measure dressforms. I was intrigued by this, as an avid sew-er and maker I had considered buying myself a mannequin for dress making but had stopped myself for 2 reasons;
1. I am thinner than an average dressform so I wouldn't get garments to fit properly by working on a standard sized one.
2. They are blinking expensive! Especially the adjustable ones and as much as I love to sew, I could not justify paying so much for a dress form. 

So, what you'll need
1. Strong tape, I used Poundland's "reinforced tape" (I used five of the six rolls that I bought)
2. A cheap t-shirt that you don't mind losing
3. Scissors
4. Stuffing
5. A willing volunteer to attack you with tape.

So I hit Poundland and bought 6 rolls of their "reinforced tape"

I then looked out an old t-shirt that I didn't mind sacrificing. 


The only other thing that you'll need is a willing volunteer, armed with a pair of scissors, to cover you in tape - G was more than willing. 


We started from the bottom, and went from front to back with enough tape to go halfway around my body to keep the tape smooth. (also, I have just noticed how ridiculously boney my wrists are! ew!)


I apologise that there are no photos of the way that we did the top half - Professor Brian Cox's "Science Britannica" was on at the time and we were both engrossed while covering me in tape.

Allow me to explain just how we did the top half though - as we got to just under the bust line we then started using smaller pieces of tape and from the middle of my bust at the front started putting on the tape on so that it formed a semi-circle shape across my chest if that makes sense? Like when kids draw a sunset and then have the rays going around the sun? If you are still following me, that was how we tackled my chest and then placed more tape, again in smaller sections (about 6"), horizontally to reinforce the structure across the front. For the back, G placed tape vertically to overlap with the bottom half, again he then placed more on horizontally to reinforce the structure.     

As we got to the more tricky parts (i.e. neck and arm-holes) we used very small sections of tape (about 3") and we just used those to join up the arms and neck to the rest of the body, using smaller sections makes it much more manageable to get around curves and contours of the body.


We then went over the body for a second time, crossing over the tape so that it made the structure a bit more sturdy. 


Then get your volunteer to carefully cut up the back of your t-shirt and tape combination and then take it off. this was the point of which G was surprised that it actually held up the shape and stayed true to my body shape!


Tape the back together again, being careful to make sure that it isn't overlapping or that a gap has been left between each side. 

Then I placed my form over some cardboard and traced around the form, cut out the card board and, yep, you guessed it, taped that on. The arm holes and neck were a little more tricky - so I just freehanded inserts for those and trimmed them where necessary - don't tape them all up though! Leave the neck open for now!
I used a combination of torn and scrunched up magazine paper and toy stuffing, keep stuffing it until it feels totally solid as you don't want it to lose shape when you start using it properly. Once that is done, tape up the neck.   

Once you are all taped up that is you! I am currently still on the lookout for something to use as a sturdy base but aside from that this was a great project! I'm going to get tonnes of use out of it and it cost me £6, an old t-shirt and an hour and a half of my time. Not a bad deal if you ask me!

Would you give this a go to save on some cash?

Monday, 2 September 2013

Strawberry Rollers (and a sick day)

If you follow me on Twitter then you will have seen that I haven't been well today. A mixture of the cold and what appears to be a lovely chest infection made an appearance yesterday to remind me that it is no longer Summer. So I have been on the couch in my PJs watching films and reading my back issues of Vintage Life magazine (my favourite magazine - more on that in another post soon!) which arrived this morning with a little freebie from them too. Which was a lovely little surprise. 

What is it about being sick that makes you want to watch old cartoons?!


Anyway! On to today's post!


So I bought myself some strawberry curlers to try out after reading reviews on the wonderful web.  I read a real mixed bag of reviews, some people raving and others said that they were useless so I didn't really know what to expect. I bought mine from this seller on eBay. They did take around 2 weeks to arrive, but at £1.73 for 12 rollers and free P&P I wasn't all that bothered.

So far I have tried them out once, easy enough to put in but a little frustrating if you are like me and like your curlers tight against your head as they slip quite a bit. I put them in slightly damp hair after I applied some setting lotion which is what I normally do for my heated bending rollers. I bought myself 24 of these strawberry rollers as I have a lot of long, thick hair - I used all 24 of them which made putting my scarf over my hair before bed very challenging as it made my hair very, very big. After a small struggle, my head scarf went on and I went to bed. 
They were very comfortable to sleep in, especially if you are like me and are used to sleeping in rollers of some sort. The following morning was the part which the reviews that I had read mostly slated as hair seems to miraculously knot around these rollers very easily. Twenty of my rollers came out without a fight, very easily. The other four put up quite the fight. After a few minutes of teasing the knots I got them out without breaking any hair - I do think that because I somewhat expected this I was less angry and a little more prepared to spend some time de-tangling. 
The results were alright. Not spectacular, but not horrendous. The curls weren't as tight as I normally like but were still nice.
I didn't take any photographs of my first trial as I plan to try them again with a slightly different method in the hope that I get results that I really like - so look out for those!

Have you tried rollers like these? Am I missing a trick with them?


Monday, 26 August 2013

Quick and Easy 1940s Style Hair

Hello again! Today I am sharing with you how I quickly do my hair in an easy 1940s style. This style works great for day to day wear, which is what I use it for and it stays put all day in work no matter how much I am running around. In the tutorial I have dressed it up a bit with a flower but you could even incorporate victory rolls into it too - it would look amazing with them!


Let's get started! As you can see I have long and naturally straight hair. I haven't had any rollers or pin curls in for about a week now as I have been working loads over the last couple of weeks and I always wear my hair up for work - I never want to wear my hair up when I have freshly curled hair!
This style works if - like me - you haven't curled your hair and want a pretty vintage style. Although, it works even better on an old curl set - so the second or even third day depending on how long yours last as it gives the hair more grip and it works amazingly!


Start by pulling your hair into a low pony tail, keep it loose though!
Remember in the 90s when everyone wore topsy turvy poytails? We're almost doing that! split your hair above the hair tie and then fold your hair neatly into the gap - just don't push it straight through!
Add lots and lots of kirby grips (or bobby pins depending on where you are reading this from!). You want to pin the hair in that roll, so keep one hand holding it in position and use your free hand to insert the pins.    
You should know yourself when it is secure enough - I use about 10 pins to get it secure enough to let it go and move on to the front. You can also leave this as messy or neaten it as much as you like - I prefer it a little messier which works better on curled hair!


Ok! So you'll be left with a weird mushroom-y shape at the front after that so put a finger on the side and push it towards the back to smooth it - keep your eye on the mirror when doing this and just pin it down when you are happy with how it looks! You can see the difference in each side o my hair after pinning one side down! So when you are happy with the shape/volume repeat on the other side!


As you can see I think to leave a small amount volume around my face (as opposed to the hair being very tight against my scalp) with this style but it is completely up to you! That is where I normally leave it for heading to work but you can dress it up with a pretty hair flower if you wish! If you want to try it with some victory rolls then I would do those first and then do the rest of the style you wouldn't then have to do the steps for the front of your hair as it would already be styled!

I like to mess about with different techniques and styles when I have time doing this to test out what works and what I think suits me. Through practice I can now style my hair like this in less than five minutes! The first time you try it it might take longer, but persevere - you'll get it eventually!

Let me know what you think! Have you tried this out or do you use a different day to day up do? 


Sunday, 11 August 2013

Glossybox Storage - Tutorial


Do you get any beauty boxes? I've been a subscriber to Glossybox for a few months now - I quite like them although some months definitely beat others hands down. The actual box itself is very sturdy and I had just been using them as they were for string bits of make up and such, I had toyed with the idea of butchering them a bit and making it into something else but never got around to it. Then I was hit with an abundance of pictures from Glossybox themselves on Facebook and Pinterest with what some people had been doing with their boxes. After seeing some great creations I decided to get out the scissors and glue and get to it. I apologise for the poor photography in this post - it was done late at night while I was sitting in bed! At least there are photos though!


I started out with three of these.


First off, chop along the corners of one side of the lid and pull it back and wiggle it to loosen it off.


You can see here that it was done on one of the longer sides. Do this step on two of the lids.
When it is nice and loose, get the scissors and chop it off completely. 


As you can see this is what forms the sides of the drawers. 


Here I was just checking that it was all going to fit as planned before I got the glue out to hold it all in place!


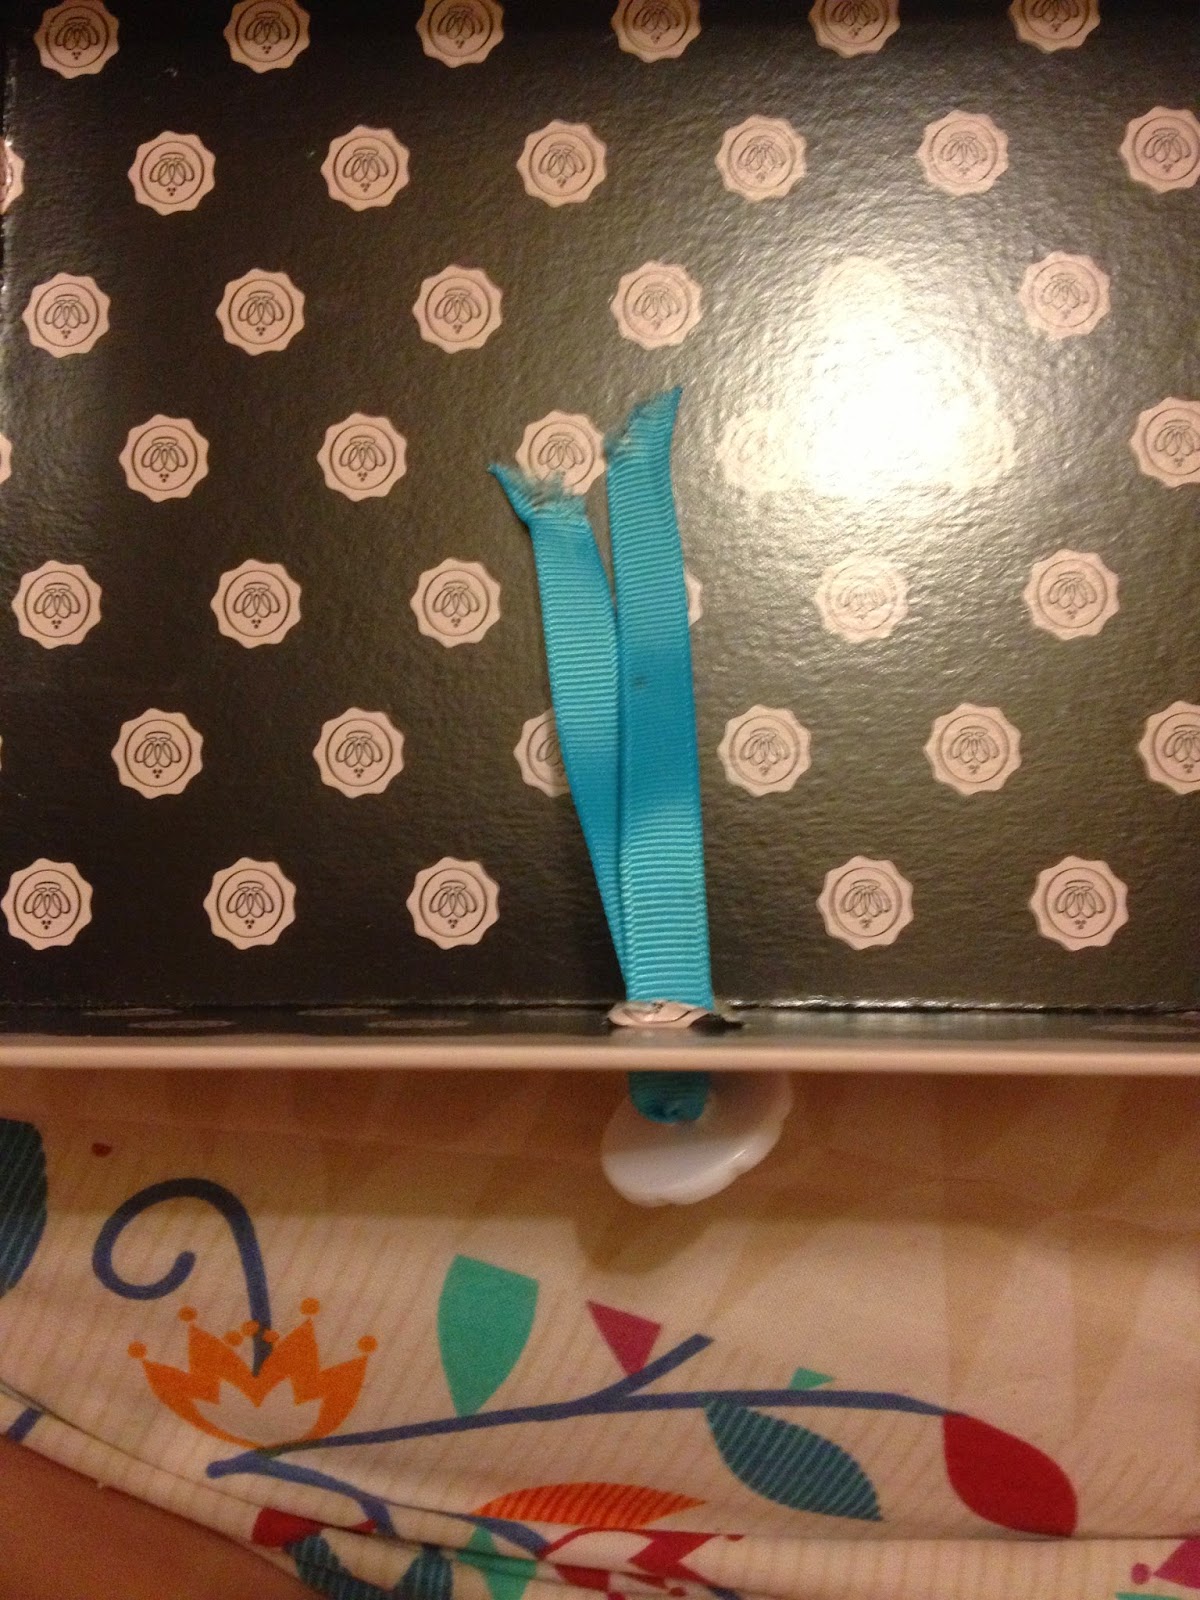
I wanted to create something to pull the drawers out, so I fished out these lovely buttons from an old issue of Mollie Makes and some ribbon from my stash!


I measured out the side of the boxes to be sure I was bang on the centre!


I marked out the centre and then used a craft knife to pierce the box - be careful here! If you have someone to hold the box steady for you it will help massively! I threaded the ribbon through the buttons, pulled it through and tied it off in the inside of the box.


I looked out my trusty Bostick Sticki Dots (all purpose glue will work great too, I just had these on hand!)
So I went on to place five or six glue dots on each side on the lip which covers the top box.


Then carefully place the third lid, turned upside down to create a tray on the top!


I ended up moving my Glossy drawers away from the window - they looked very pretty there but I had a slight mishap with my Eight Hour Cream which had been sitting in the sun all day. If you use Eight Hour Cream then you'll know what it is like when it gets a bit warm, it came flying out of the tube!

I keep my everyday make up, make up brushes and any other bits which I use often in these pretty little drawers.

So, that was how I made my Glossy drawers, have you made anything similar? Or are you wanting to try it with yours? Let me know!!

Come back tomorrow when I will talk you through the cosmetics which I use every day, and you'll see what is housed in these lovely drawers!

Related Posts Plugin for WordPress, Blogger...